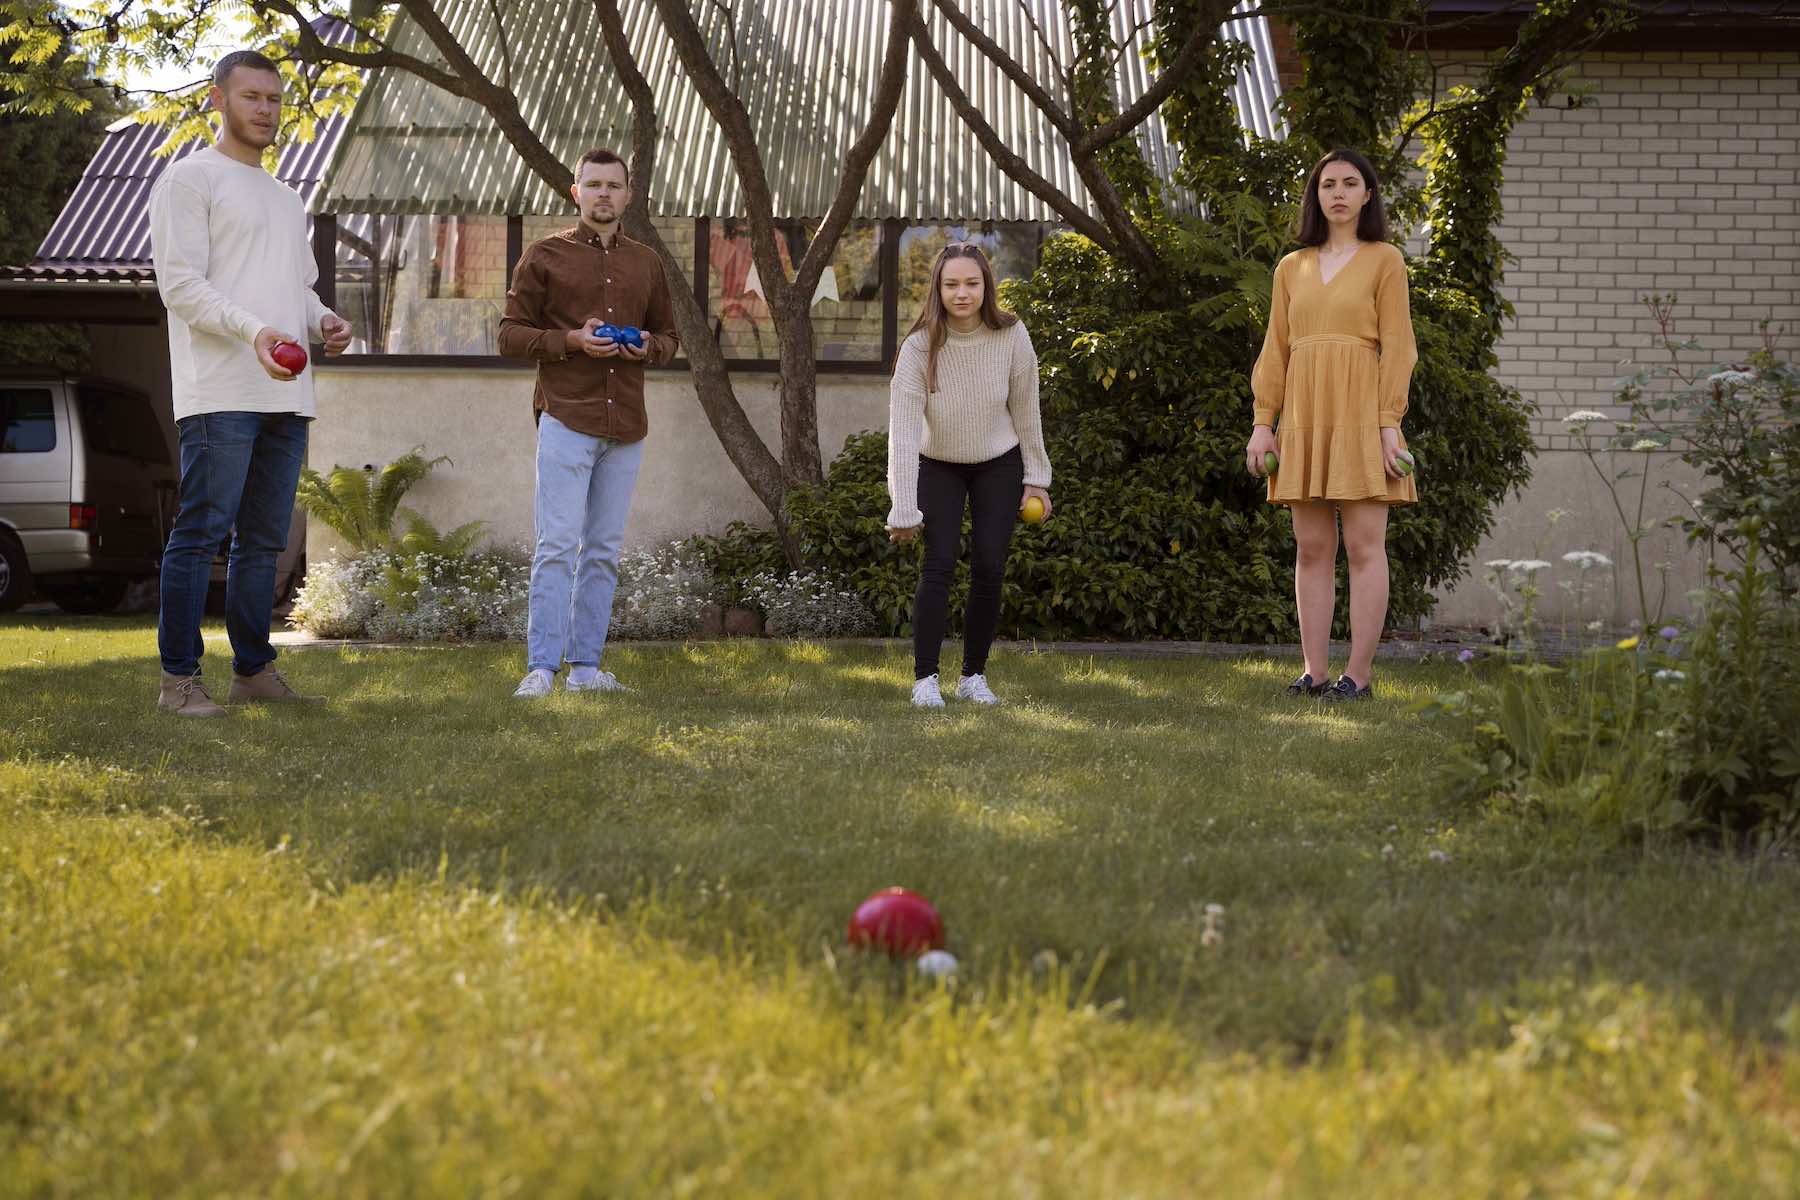
Petanque is a national sport in many parts of France. Easy and fun to play, the game has become a huge hit in recent years, including among young people.
Everyone loves to play pétanque when the sun is out. Hence the idea of building a pétanque court at home to make the most of the fine weather.
Do you have space in your garden and want to build one in peace and quiet? Find out here how to build a petanque court if you want to play petanque with friends or family at home on sunny Sundays.
Some information about the official dimensions of a petanque court
For national competitions, the official dimensions of a pétanque court must be respected: 4 m wide and 15 m long.
However, for lower-level competitions, it is possible to play on small pitches 3m wide and 12m long.
The latter size is ideal if you only have a small pitch. For the construction of a pétanque court, you will need to supply the various materials if you are doing the work yourself.
If you decide to call in a professional, you'll need to budget for this. Calling in a specialist is always a good idea, as it guarantees the quality of the work on time. But, if you're strong and energetic enough, why not maintain the project yourself? It really is wonderful to get busy and make your own bowling green.
Before starting work, make sure that the ground is flat. This will make digging easier. Also, build your playground in a shady area or install a pergola so you're not too exposed to the heat in summer.
4 steps to creating a pétanque court
Petanque is a traditional game in France. That's why having a little spot to play in peace and quiet at home is the dream of many French people.
What if you made that dream come true and built your own pétanque court at home? After work, you can play at home whenever you like. Here are 4 simple steps to making a good petanque court that combines comfort and aesthetics.
1. Prepare the site
The first step is to define the location of the petanque court in your garden. You'll need a space of at least 12m x 3m, which is the traditional size.
To position the frames, use a mason's square to ensure that the angles are correct. Then proceed with the excavation.
Excavate between 25 and 30 cm and continue to level the soil. Then, using a hoe if necessary, remove any large roots and other weeds.
Finally, take a rake and use the back of it to smooth the floor.
Don't forget that building a pétanque court requires excellent physical condition. So if you can't do it yourself, get someone to help you. With two people, the project will go ahead quickly.
2. Mark the area
In the next step, spread coarse gravel over the entire area, to a total thickness of 5 cm. Next, level the pitch. This is a crucial phase for your playing comfort: the ground must be flat and straight so that your balls don't end up at the foot of the wall on every shot.
Keep compacting the soil. Once this has been done, place a perforated geotextile fabric to facilitate drainage of accumulated water and prevent the growth of weeds.
Around the bowls alley, place the frames so that they form a rectangle the size of the bowls alley. This will prevent the balls from flying out of the lane during play.
Adjust the angles and length correctly. If necessary, you can add reinforcements to the corners to optimise the structure's strength.
3. Level the playing field
Uncover a second layer of finer gravel 10 to 15 cm thick. To protect the geotextile film you've just laid and increase stability, add another 5 cm of gravel or stabilised sand.
Always compact the soil to flatten it. Moisten it and make sure it is level. After a few days, add sand again, always to a thickness of 5 cm.
Use a levelling bar and tamp down the soil until it is perfectly compacted.
Place the frames symmetrically and securely on the edge of the ground. Note that they will be the first to receive the impact of the balls, so make sure they are well fixed.
4. Establish a rest period
After evenly spreading a 5 cm layer of stabilised sand or gravel, water the area. Always compact. Use a vibrating plate to make sure the ground is level.
Then leave it alone for at least 4 days while the soil improves. After this time, repeat the work with the same doses and moisten.
Finally, leave it to rest for more than 2 days and you'll see the fruits of your efforts.
To complete your bowls pitch, create a fixed barbecue to create a bowls pitch where you can have fun with the whole family. Don't forget to install a box to store the boules and the jack.
Conclusion on the construction of a pétanque court
Petanque can be played on almost any smooth, flat surface, but the court must be at least 3m wide and 12m long.
Do you want your own playground? You'll need a variety of materials such as fine and coarse gravel, compacted sand and geotextile film with holes in it to allow water to drain away.
To obtain a suitable surface, remove a 20-25 cm layer from the surface of the ground. Place around 5 cm of coarse gravel, level and compact. Cover with geotextile fabric to prevent the growth of weeds and allow the soil to drain.
Add a further 15 cm of gravel and compact. Place a layer of yellow sand until the gravel is no longer visible. Moisten the sand and compact it once more.
Don't forget to think about the surroundings of your bowls alley. Install a few benches and tables to create the pleasant atmosphere you're looking for. If necessary, don't hesitate to install shading solutions to avoid sunburn during downtime.
Your petanque court project is now a reality. All you have to do now is get started and make the most of it.